

How to Make Layered Sand Art Bottles: Step-by-Step Guide
To make layered sand art in a bottle, place a funnel in a clean, dry bottle and add colored sand one layer at a time. Keep the bottle upright for straight layers or tilt it to create diagonal layers. Gently tap the bottle as you work to settle the sand, fill it completely to the top, and secure the cap tightly so the colorful layers do not shift.
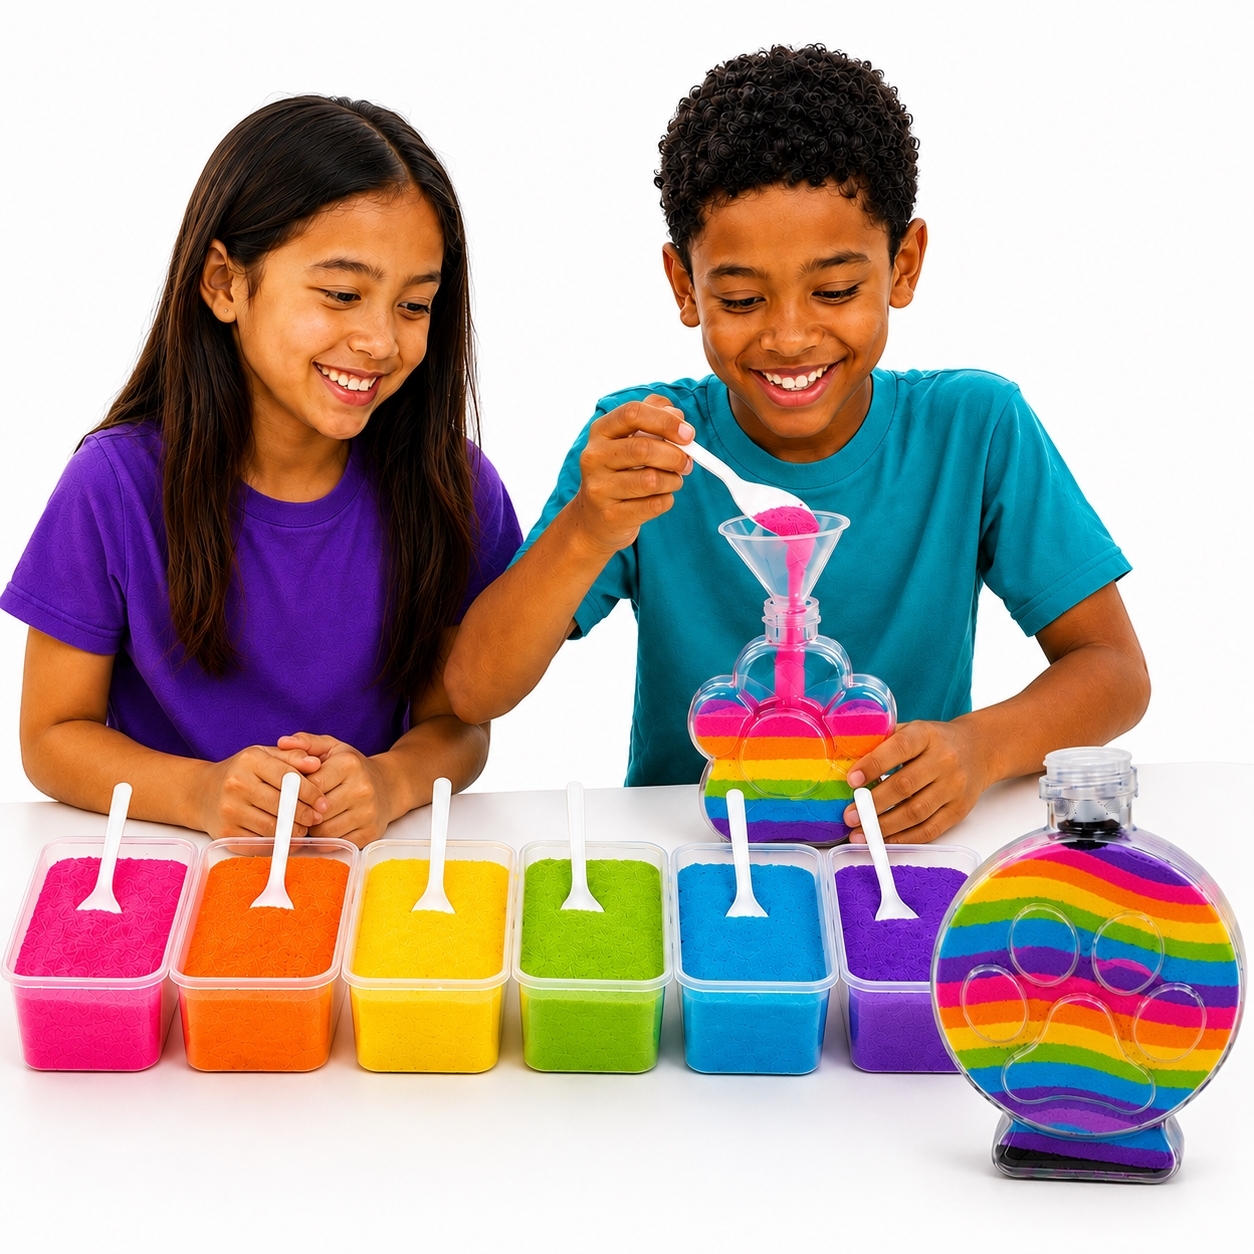
This beginner-friendly guide explains how to make sand art in a bottle step by step, create clean layers and patterns, estimate how much sand you need, and fix common problems. These instructions work well for classroom crafts, birthday parties, camps, school carnivals, festivals, and family projects.
What You Need to Make a Sand Art Bottle
- • A clear plastic sand art bottle with a cap
• Colored art sand in several colors
• One small funnel for each person making a bottle
• Spoons or scoops
• Small bowls or containers for the sand colors
• A pencil, ruler, wooden spoon, or tapping tool
• A bamboo skewer or similar pointed tool for advanced designs (optional)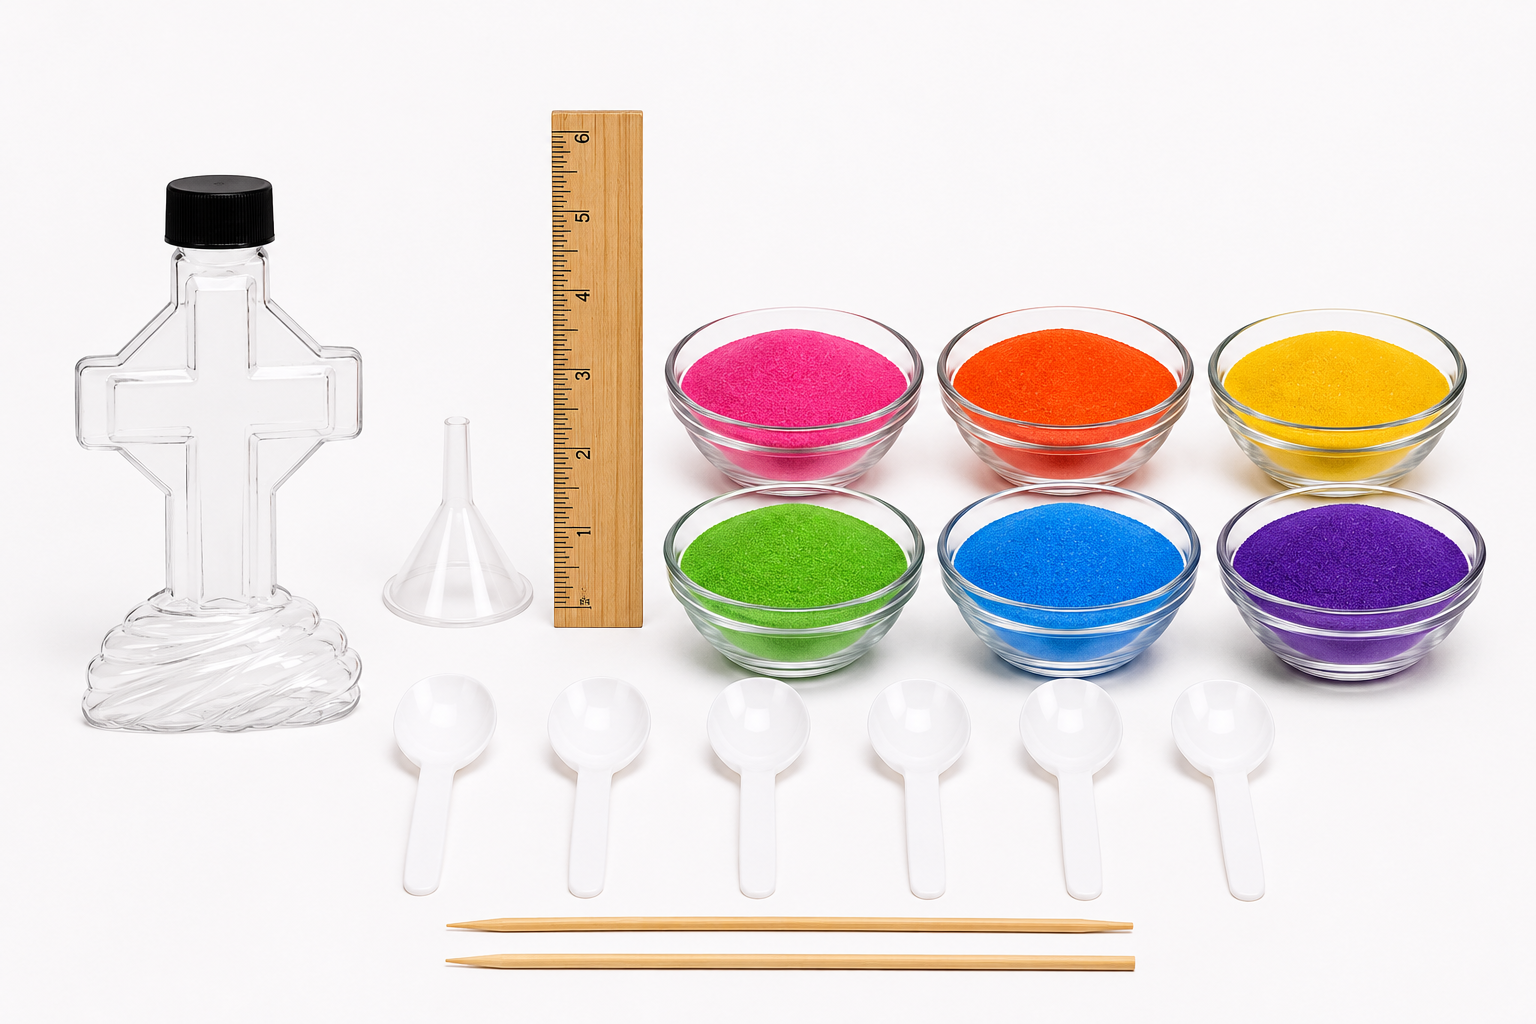
Plastic bottles are a practical choice for children’s activities and busy events because they are lightweight and will not break. Before beginning, make sure every bottle, funnel, spoon, and container is clean and completely dry. Even a small amount of moisture can cause colored sand to clump or stick to the sides of the bottle.
How to Make Sand Art in a Bottle, Step by Step
- Choose your colors. Select two to twelve colored sand colors that look good together. Try favorite colors, school or team colors, holiday combinations, or a full rainbow. Fewer colors create a bold repeating design, while more colors produce a brighter, more detailed bottle.
- Place the funnel in the bottle. Put a small, clean, dry funnel securely into the bottle opening. Keep the funnel in the bottle throughout the project to make filling easier and reduce spills.
- Add the first layer of sand. Spoon colored sand into the funnel until it covers the bottom of the bottle. For most bottles, approximately two small spoonfuls create a good starting layer. Make each layer about ¼ inch thick or more because extremely thin layers can mix together.
- Continue adding colored layers. Pour a different color over the first layer and continue adding colors in any order you like. Hold the bottle steady and avoid shaking it. You can repeat a pattern or change the color order as you work.
- Tap the bottle to settle the sand. When the bottle is approximately halfway full, gently tap its outside or top with a pencil, ruler, wooden spoon, or tapping tool. The sand level will drop as it settles into the empty spaces. Add more layers and tap the bottle again.
- Fill the bottle completely. Continue adding sand until it reaches the opening. Allow the final layer to mound slightly above the top, gently press it down with a clean, dry finger, and add more sand if necessary. Filling every open space helps prevent the layers from shifting.
- Secure the cap tightly. Screw or press the cap into place, depending on the bottle style. Make sure the cap is secure, and do not shake the finished bottle.
How to Layer Colored Sand for Different Designs
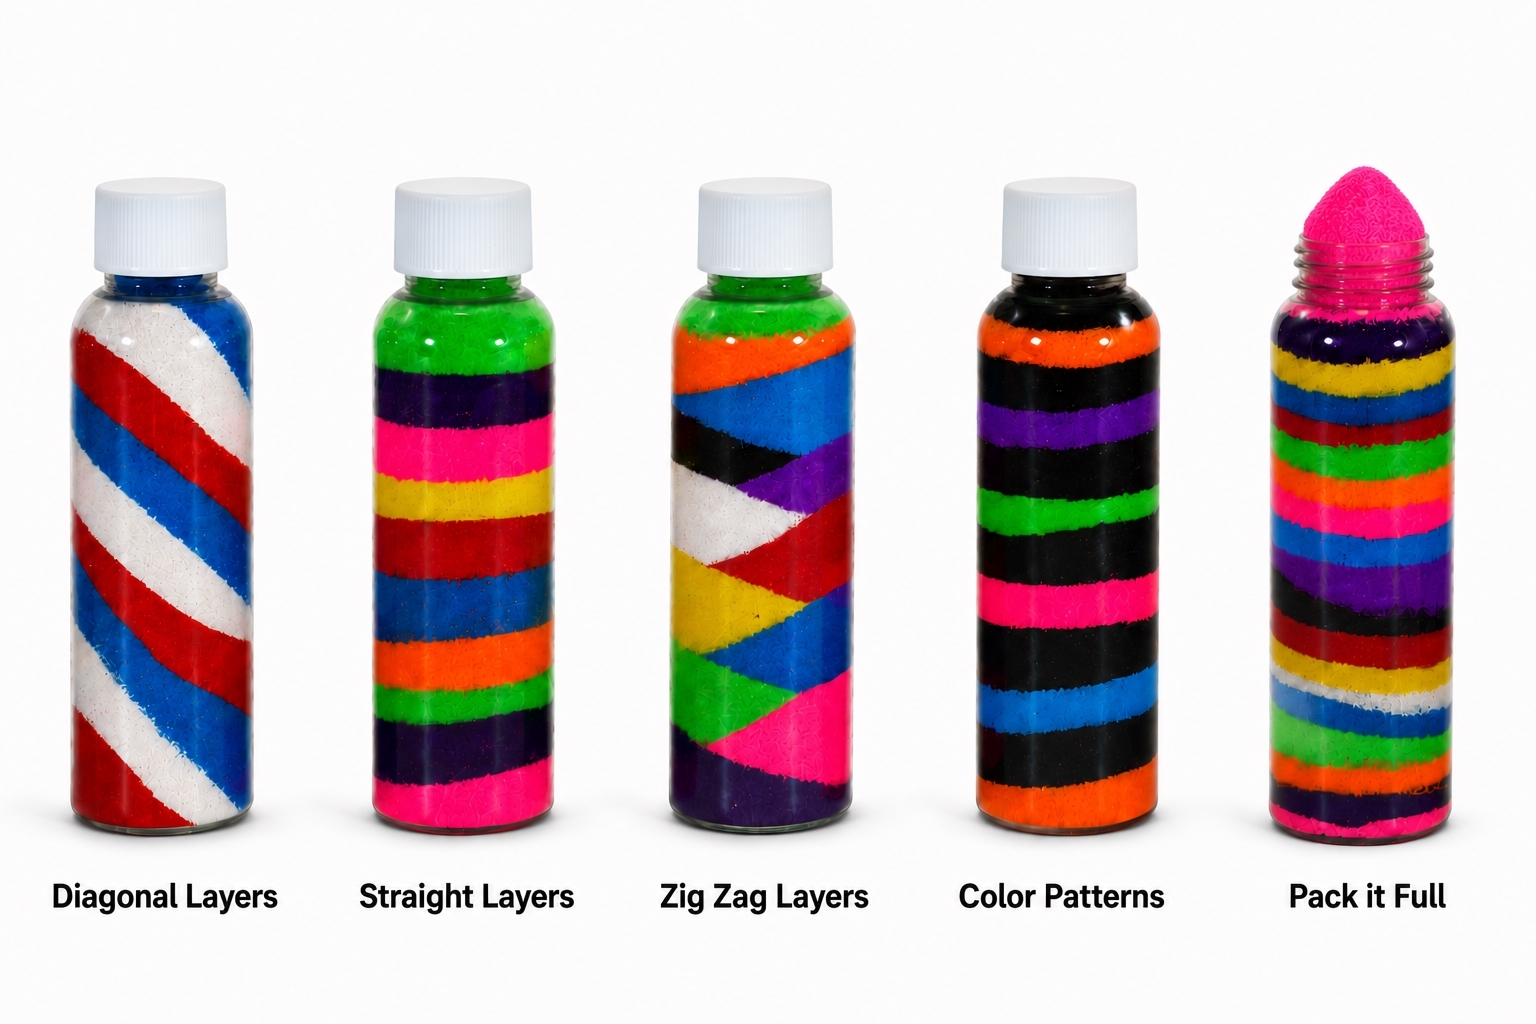
Once you know the basic sand art bottle instructions, you can create several different effects.
Straight horizontal layers
Keep the bottle upright while adding each color. Use similar amounts of sand for even stripes, or alternate thick and thin layers for more variety.
Diagonal Layers
Tilt the bottle while pouring in the sand. Keep it at the same angle for several layers, or tilt it in the opposite direction to create a zigzag effect. As the sand level gets higher, slowly hold the bottle more upright.
Wavy or geometric layers
After adding a layer, carefully push a bamboo skewer down along the inside wall of the bottle and into the layer below. Pull the point slightly inward toward the center. Repeat around the bottle to make dips, waves, or scalloped patterns. An adult should supervise children when pointed tools are used. For young children, large events, or busy fundraisers, ColoredSand.com recommends skipping this advanced technique. It takes additional time, and participants may try to empty their bottles and start over if they make a mistake. Sand art bottles still look colorful and unique without using skewers.
Repeating color patterns
Choose a short color sequence and repeat it all the way up the bottle. Repeating patterns work especially HOSTcis well with school colors, sports-team colors, patriotic combinations, and holiday themes. For example, red, white, and blue colored sand creates a patriotic design.
How Much Sand Is Needed for Sand Art Bottles?
The amount of sand needed depends on the bottle’s capacity, not just its height. A wide bottle will require more sand than a narrow bottle of the same height.
A simple planning rule is to purchase approximately twice the bottle’s listed fluid-ounce capacity in ounces of sand. This allows extra sand for settling, packing, and minor spills.
For example, plan on approximately 8 ounces of sand for each 4-fluid-ounce bottle.
For 30 bottles that each hold 4 fluid ounces:
- Multiply 30 bottles by 4 fluid ounces: 120 fluid ounces.
- Double that amount for sand art: 240 ounces of sand.
- Divide 240 ounces by 16: approximately 15 pounds of sand.
Because bottle shapes and filling methods vary, treat this as a planning estimate, rather than an exact measurement.
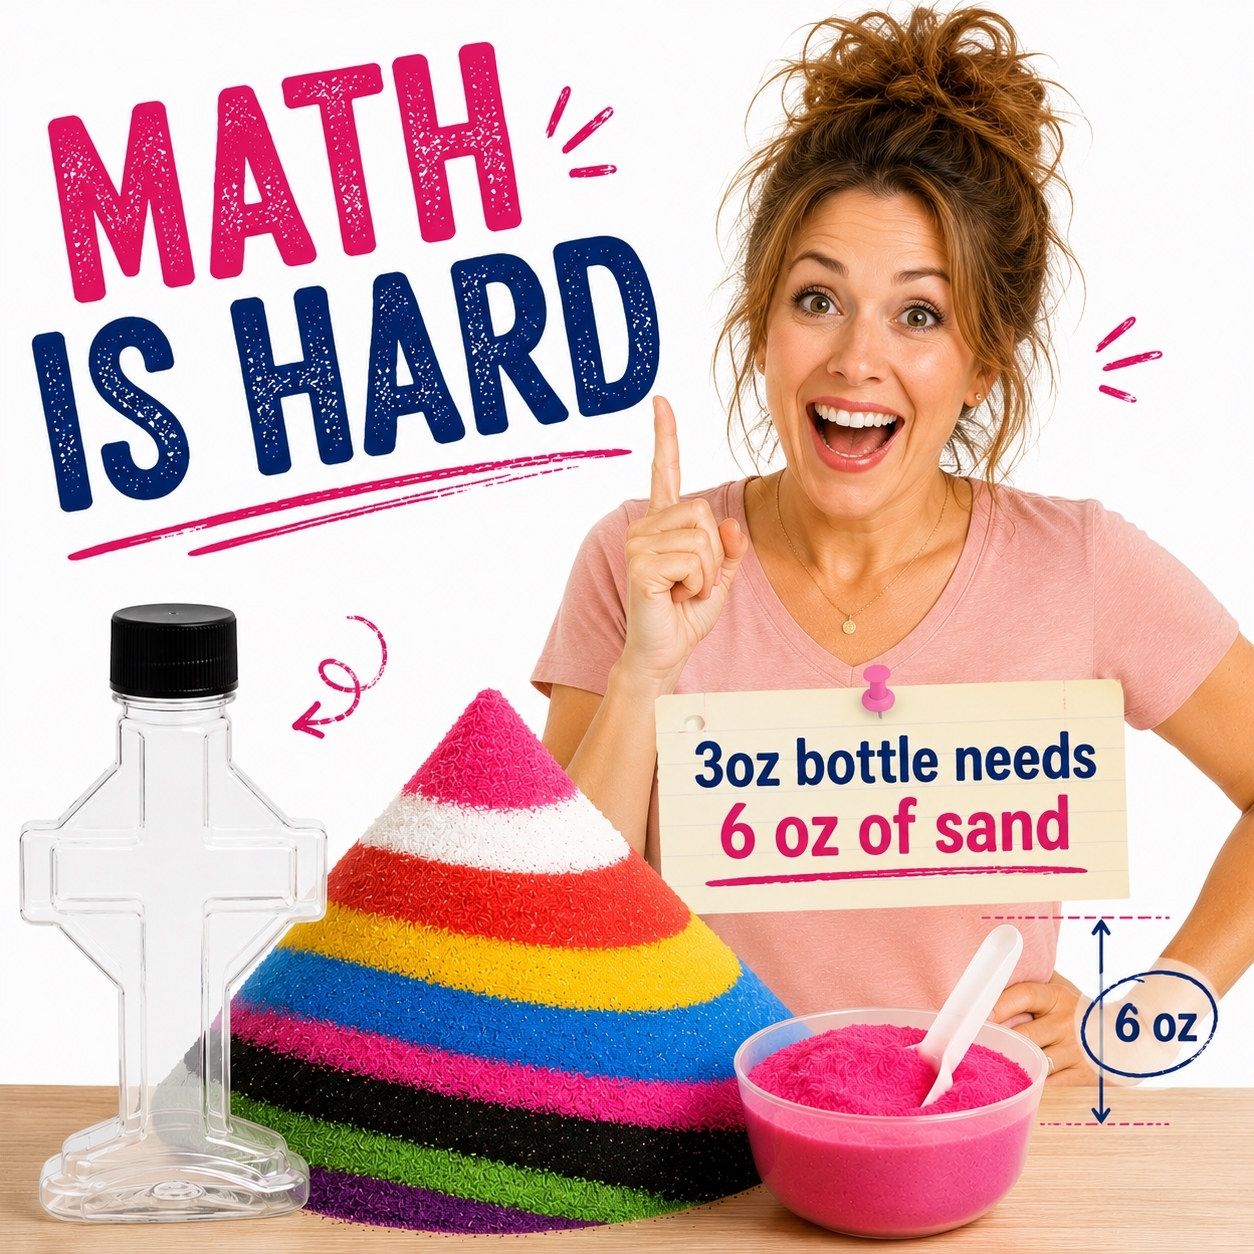
Need help doing the math? Call the Sand Art experts, we can help! 1-800-697-7263
Sand Art Ideas for Kids
Layered bottles can match almost any event or lesson.
- School spirit bottles: Use school or mascot colors.
- Rainbow bottles: Layer colors in rainbow order or let children create their own version.
- Holiday bottles: Use orange, purple, and black for Halloween; red, green, and white for Christmas; or red, white, and blue for patriotic events.
- Team-color bottles: Match a favorite college, professional, or youth sports team.
- Learning activities: Ask younger children to name colors, repeat patterns, or compare thick and thin layers.
- Party keepsakes: Let each guest make a bottle to take home instead of giving a traditional party favor.
Sand art is also a useful group activity because children can be creative without every finished project needing to look the same.
Common Sand Art Fixes
The colors are mixing together
The layers may be too thin, the bottle may have been shaken, or the sand may not be packed tightly enough. Make each layer approximately ¼ inch thick or more, hold the bottle steady, and tap it gently as you fill it.
Sand sticks to the inside of the bottle
The bottle or funnel may contain moisture or static. Begin with completely dry supplies and keep drinks and water away from the work area. If static is causing the sand to cling, wipe the bottles, funnels, and spoons with a dryer sheet before starting.
The layers move after the bottle is finished
There is probably open space at the top. Tap the bottle to settle the sand, refill it to the opening, mound the final sand coming out of the top, and secure the cap tightly.
Sand spills into the other colors
Space the sand containers several inches apart and give each color its own spoon. If a small amount of sand gets into another container, stir it in to create a colorful mixture.
Tips for Making Sand Art with a Group
A well-organized setup makes sand art faster, cleaner, and easier for schools, camps, carnivals, festivals, and other large-group events.
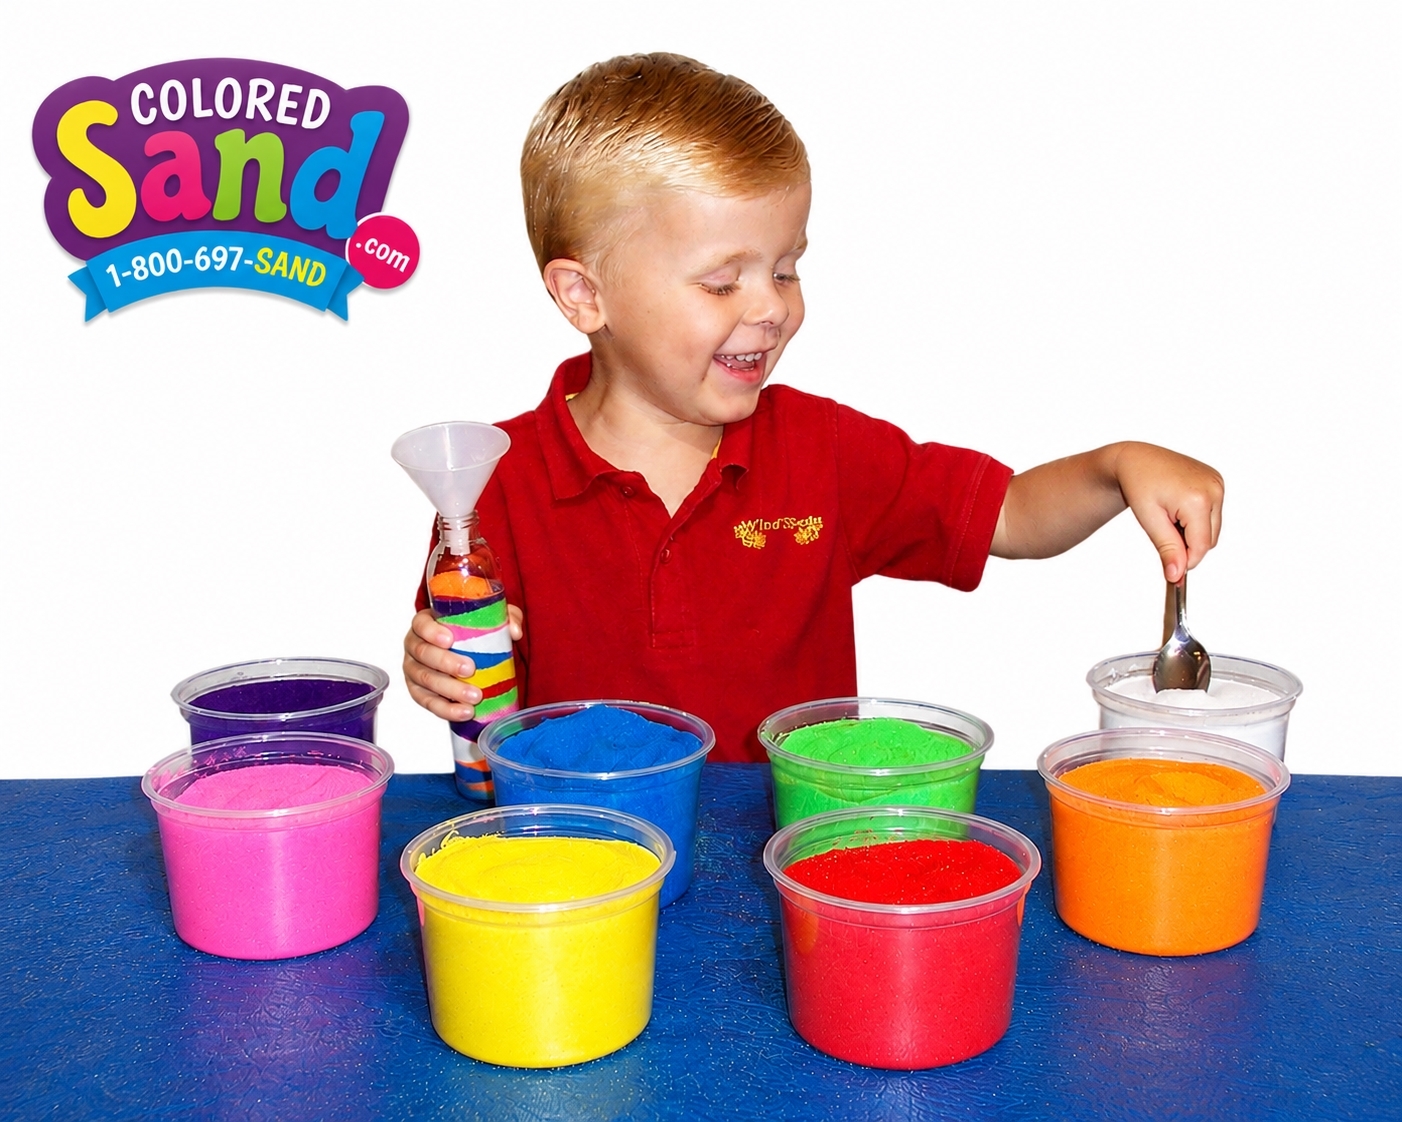
- Arrange the sand containers in a row with space between each color.
- Use low tables that children can reach comfortably.
- Give each participant one bottle with one funnel.
- Have participants move from color to color instead of carrying the sand containers.
- Display several completed bottles as examples.
- Assign one adult to distribute bottles and funnels.
- Assign another adult to tap, pack, and cap completed bottles.
- Keep the sand, bottles, funnels, and spoons completely dry.
- Cover outdoor supplies if rain or heavy moisture is possible.
Frequently Asked Questions About Layered Sand Art Bottles
Is Sand Art Messy?
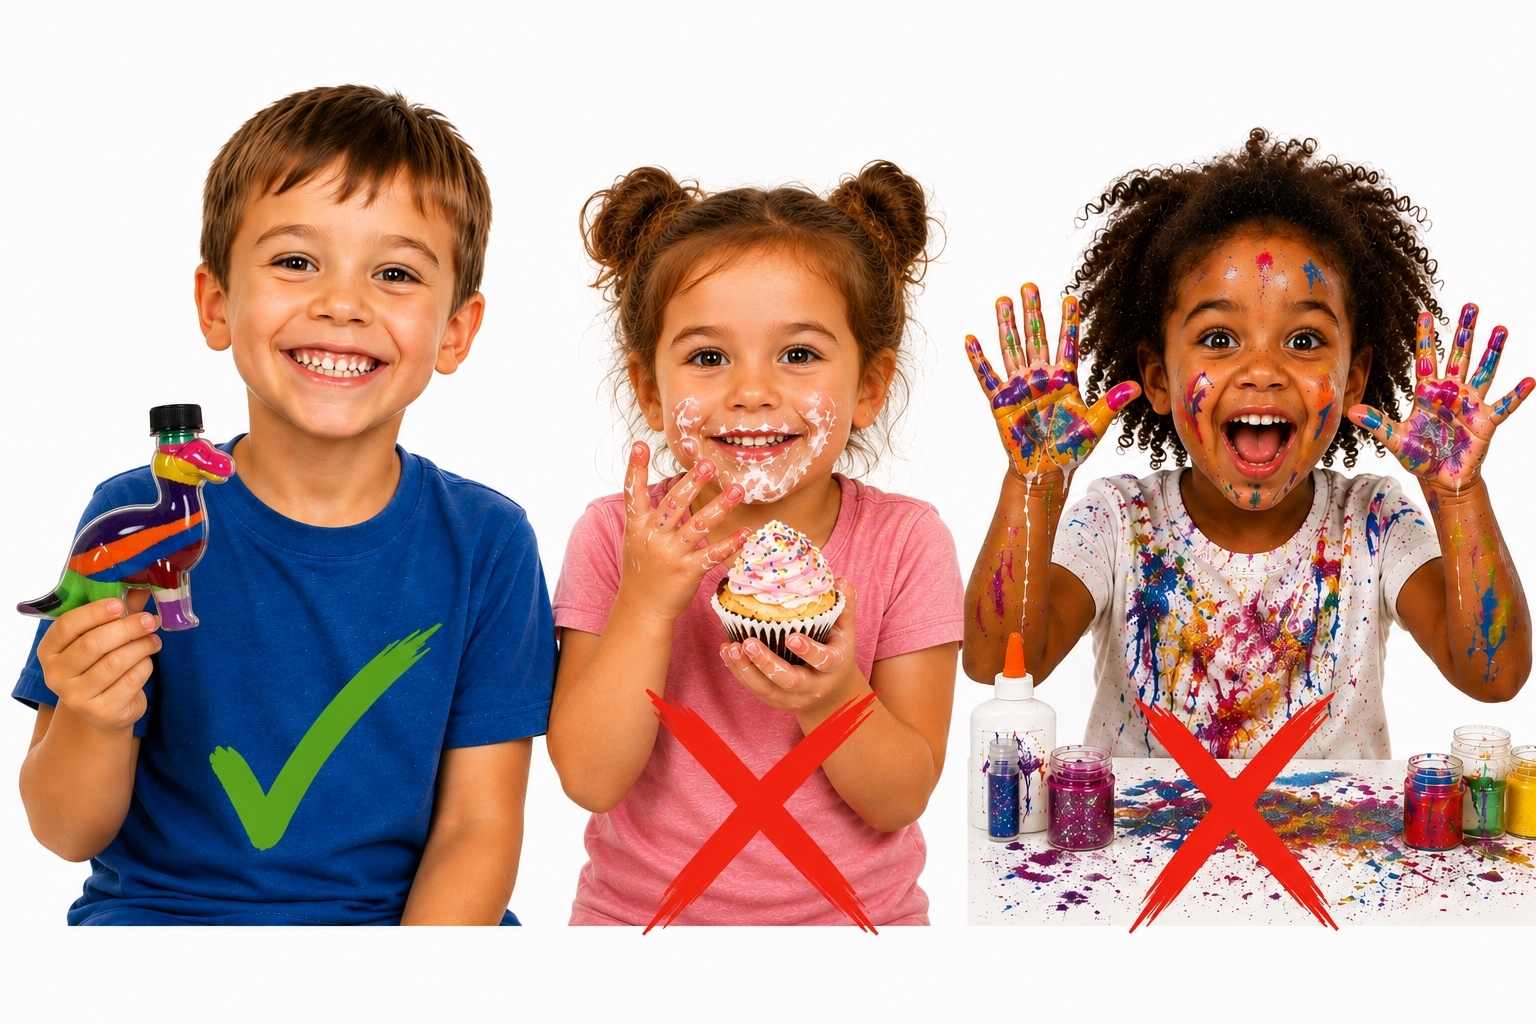
Sand art is relatively easy to clean up because it does not require paint, glue, or glitter. Place the sand containers on a covered table and sweep or vacuum any spilled sand after the activity. Outdoor sand art stations may require very little cleanup.
What is the best way to make layers in a sand art bottle?
Use a small funnel, add one color at a time, and make layers about ¼ inch thick or more. Keep the bottle upright for straight layers or tilt it for diagonal layers. Gently tap the bottle as you work so the sand settles.
How do you keep sand art layers from moving?
Pack the sand firmly by gently tapping the bottle during filling. Fill every open space, slightly mound the final layer at the opening, and secure the cap tightly. Do not shake the finished bottle.
How many colors should be used in a sand art bottle?
Two to twelve colors work well for most designs, but there is no required number. Two or three colors create a strong repeating pattern. The more colors the better!
Do you need glue to seal a sand art bottle?
No glue is needed! Sand art bottles do not require glue when the sand is packed tightly and the cap fits securely. For activities with small children, an adult should check that every cap is firmly attached before the bottle goes home.
Is sand art a good activity for young children?
Yes. Sand art encourages color recognition, pattern-making, creativity, and fine-motor practice. Adults should supervise the activity, help with caps, and keep small supplies away from children who may put them in their mouths.
Can you make sand art in a glass bottle?
Yes. You can make layered sand art in a glass bottle using the same basic process used for plastic bottles. Make sure the glass bottle is clean and completely dry, use a small funnel to add one color at a time, pack the sand tightly, and secure the cork or cap. Glass bottles should be handled carefully and are better suited for adults or supervised activities.
Create Your Own Layered Sand Art Bottle
ColoredSand.com offers colorful sand, clear plastic bottles, funnels, and complete sand art kits for children's activities, classrooms, camps, parties, school carnivals, festivals, and special events.